Quick Menu
Installation of Grav is a trivial process. In fact, there is no real installation. You have three options for installing Grav. The first - and simplest - way is to simply download the zip archive, and extract it. The second way is to install with composer. The third way is to clone the source project directly from GitHub, and then run an included script command to install needed dependencies:
Check for PHP version
Grav is incredibly easy to set up and get running. Be sure you have at least PHP version 5.5.9 by going to the terminal and typing:
$ php -vThis should report the version and build information. For example:
PHP 5.5.20 (cli) (built: Jan 19 2014 21:32:15)
Copyright (c) 1997-2013 The PHP Group
Zend Engine v2.4.0, Copyright (c) 1998-2013 Zend Technologies
Option 1: Install from ZIP package
The easiest way to install Grav is to download the ZIP package and extract it:
- Download the latest-and-greatest Grav Base package from the Downloads
- Extract the ZIP file in the webroot of your web server, e.g.
~/webroot/grav
If you downloaded the ZIP file and then plan to move it to your webroot, please move the ENTIRE FOLDER because it contains several hidden files (such as .htaccess) that will not be selected by default. The omission of these hidden files can cause problems when running Grav.
Option 2: Install with composer
The alternative method is to install Grav with composer:
$ composer create-project getgrav/grav ~/webroot/gravIf you want to check out the bleeding edge version of Grav, add 1.x-dev as an additional parameter:
$ composer create-project getgrav/grav ~/webroot/grav 1.x-devOption 3: Install from GitHub
Another method is to clone Grav from the GitHub repository, and then run a simple dependency installation script:
-
Clone the Grav repository from GitHub to a folder in the webroot of your server, e.g.
~/webroot/grav. Launch a terminal or console and navigate to the webroot folder:$ cd ~/webroot $ git clone -b master https://github.com/getgrav/grav.git -
Install vendor dependencies via composer:
$ composer install --no-dev -o -
Install the plugin and theme dependencies by using the Grav CLI application
bin/grav:$ cd ~/webroot/grav $ bin/grav installThis will automatically clone the required dependencies from GitHub directly into this Grav installation.
Webserver
Apache/IIS/Nginx
Using Grav with a web server such as Apache, IIS, or Nginx is as simple as extracting Grav into a folder under the webroot. All it requires to function is PHP 5.5.9 or higher, so you should make sure that your server instance meets that requirement. More information about Grav requirements can be found in the requirements chapter of this guide.
If your web root is, for example, ~/public_html then you could extract it into this folder and reach it via http://localhost. If you extracted it into ~/public_html/grav you would reach it via http://localhost/grav.
Every web server must be configured. Grav ships with .htaccess by default, for Apache, and comes with some default server configuration files, for nginx, caddy server, iis and lighttpd. Use them accordingly when needed.
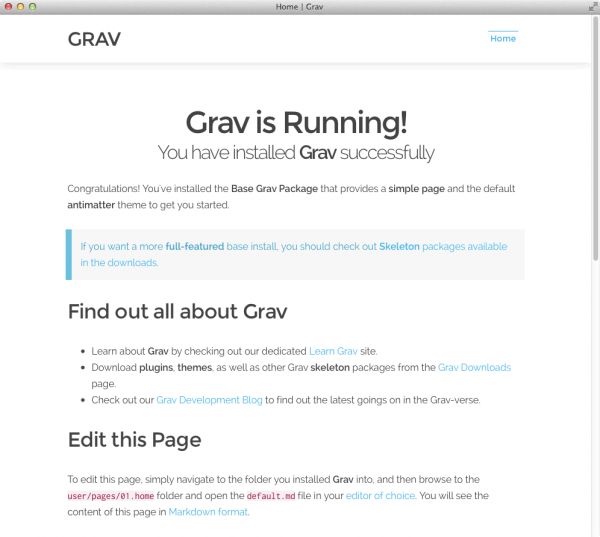
Successful Installation
The first time it loads, Grav pre-compiles some files. If you now refresh your browser, you will get a faster, cached version.
In the previous examples, $ represents the command prompt. This may look different on various platforms.
By default, Grav comes with some sample pages to give you something to get started with. Your site is already fully functional and you can configure it, add content, extend it, or customize it as much as you like.
Installation & Setup Problems
If any issues are discovered during the initial page load (or after a cache-flush event) you may see an error page:
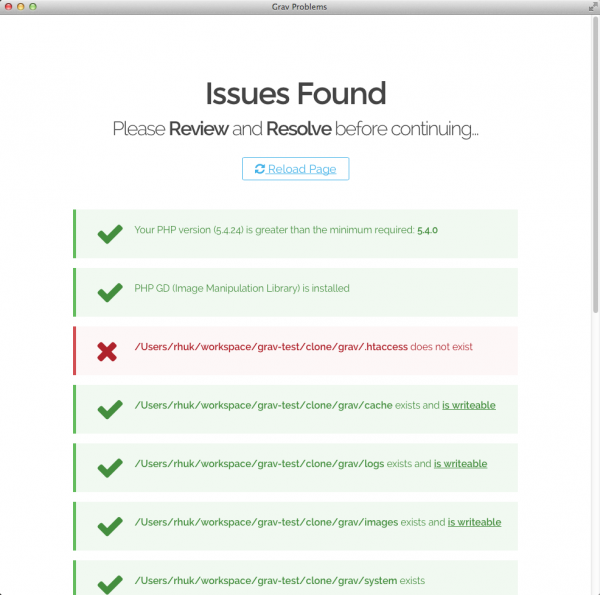
Please consult the Troubleshooting section for help regarding specific issues.
If you have issues with file permissions, please check the Permissions Troubleshooting documentation. Also you could look at the Hosting Guides documentation that have specific instructions for various hosting environments
Grav Updates
Automatic Updates
The preferred method for updating Grav (from v0.9.3 onwards) is to use the Grav Package Manager (GPM). All you need to do is to navigate to the root of your Grav site and type:
bin/gpm selfupgradeFull information can be found in the Grav GPM Documentation. We also have GPM integrated in our Admin Panel plugin which will check, prompt, and automatically install any updates.
Manual Updates
The process to manually update Grav is:
-
Backup your site using
bin/grav backup(more information in Grav CLI Documentation or alternatively zipping up the whole Grav site, or specifically theuser/folder. -
Download the Update Package from our Downloads section. It is important to download the update package and not the core package.
-
Extract the update package over the top of your existing Grav installation and it will copy over any updates in the
core system folder. -
Clear the Grav cache with
bin/grav clear-cacheto ensure any cache or compiled files are recreated cleanly.
It's important not to copy the core Grav zip file over your current site as it could overrwrite your user/ folder and resulting in a loss of your data.
Found errors? Think you can improve this documentation? Simply click the Edit link at the top of the page, and then the icon on Github to make your changes.